
So you’ve got your first record player and you’re ready to start spinning records. Congratulations! You’re about to experience the most rewarding way to enjoy music.
But wait… How do you use a record player? (or turntable for that matter).
Vinyl enthusiasts can often assume everyone knows how to use a turntable, but do they? We live in a digital world, and while vinyl is growing in popularity, it can be intimating if you’ve never used one before.
Having recently allowed my brother access to my record collection while babysitting my kids, I was inspired to write a simple-to-understand guide.
Sure, anyone can use a turntable, but if you want to avoid damaging your records, there’s a right and a wrong way to operate your deck.
Fortunately, playing a record doesn’t have to be complicated. Want to skip straight to our step-by-step guide to playing a record? CLICK HERE
Playing A Record: What Type of Record Player or Turntable Do You Own?
Devices for playing vinyl records come in many forms, shapes and sizes, and while the core components from one to another are very similar, the operation of your deck will vary slightly from one type of record player to another.
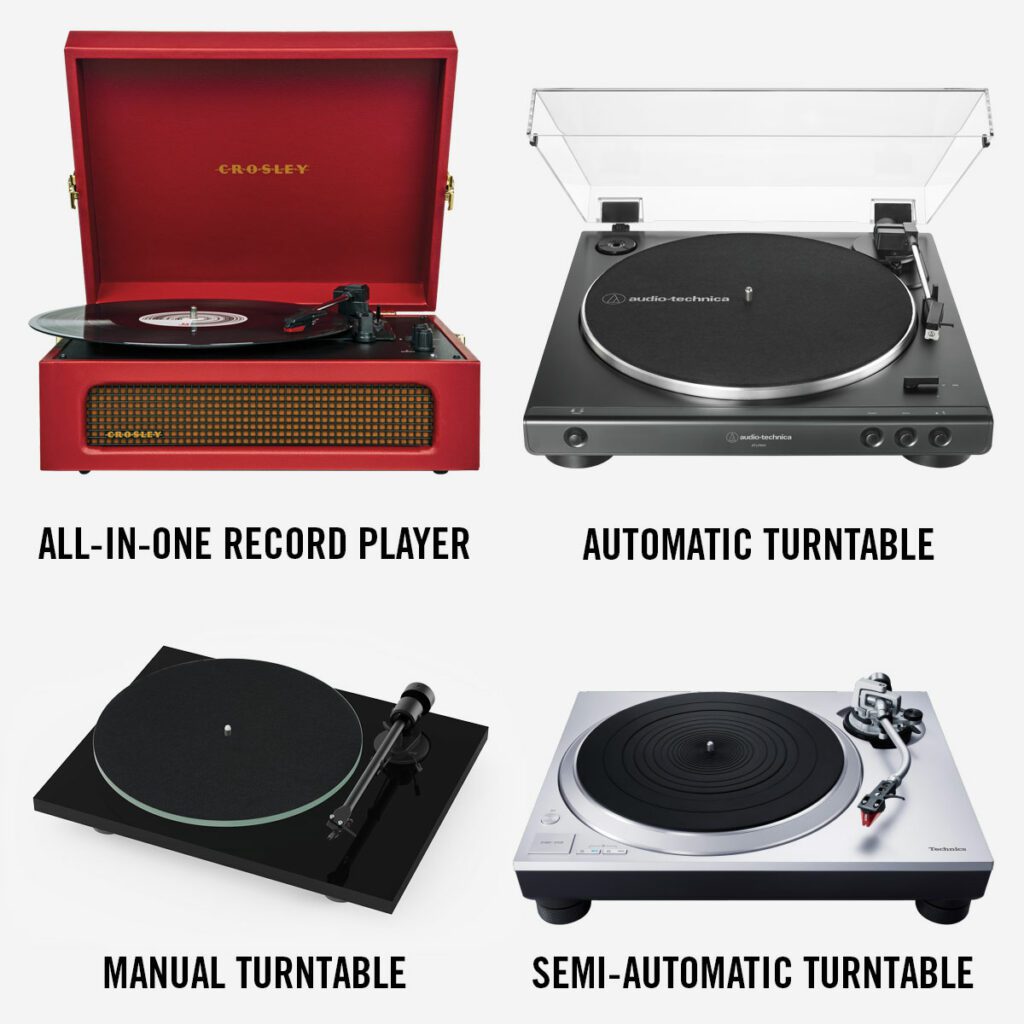
There are four main types of record player we’ll delve into:
- All-in-One Record Player with Built-in Speakers
- Automatic Turntables
- Manual Turntables
- Semi-Automatic Turntables
All of these designs have a few parts in common:
The Plinth – The base of your turntable/record player.
The Platter – This is the turntable element or your record player that sits on top of the main plinth. Put simply; it’s the part that rotates your record, and hence why the terms record player and turntable are often interchanged.

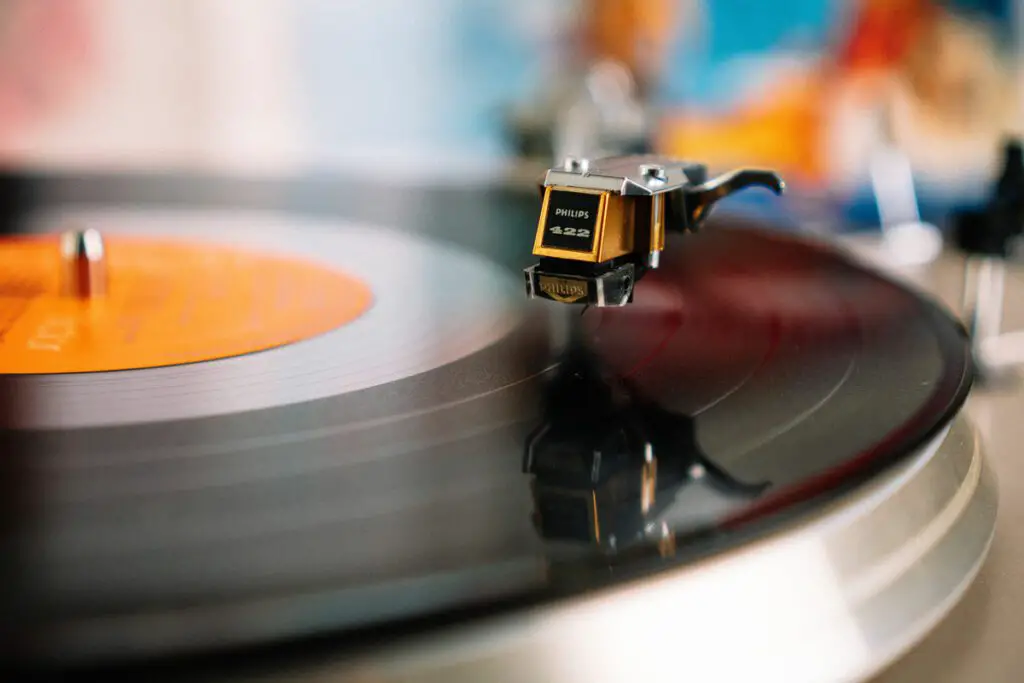
The Tone Arm – Your tonearm pivots from the outside edge of the record toward the center. At the end of a tonearm is your cartridge, which has a needle (better known as the stylus) responsible for tracking your record’s groove.
How to Use a Record Player with Built-in Speakers
If you own a record player with built-in speakers, such as the all-in-one suitcase-style models from manufacturers like Crosley, Steepletone, and Victrola, then you can get started spinning records right out of the box.
These turntables are designed to be portable, all-in-one units for beginners. There is a lot of snobbery in the vinyl community about these brands, as they do not offer the same level of audiophile, HiFi experience as more expensive turntable models.
However, if this gets you started on your vinyl journey, I say crack on!
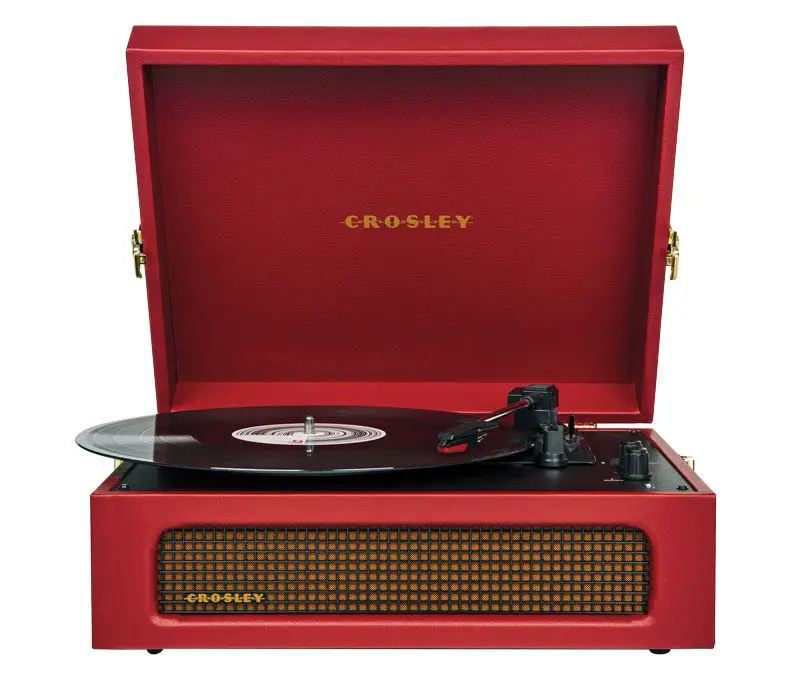
Your all-in-one record player likely features a set of built-in speakers, so there is no requirement to plug the unit into a separate receiver, amplifier, or powered speakers.

The built-in speakers are enough to get you started, but they can often sound quite thin. You will notice a significant uplift in quality by connecting the record player to external speakers if you can.
Some units feature RCA output connectors at the back, which enable you to plug into the “AUX” input of a receiver or speakers for significantly better sound quality.
Increasingly, these units are often equipped with Bluetooth connectivity, which is a convenient way to connect to your existing home entertainment systems or even a smart speaker.
Playing a Vinyl Record: Step-by-Step Guide:
Time needed: 5 minutes
Playing a vinyl record is easy when you know how. Below is our easy-to-follow guide on how to play a vinyl record:
- Gently pull the record from its sleeve
Be careful not to touch the record grooves. Always hold your records by the edges and label so as not to dirty up the record with oils from your fingertips. - Place the record
Place the record on the plater so the spindle goes through the center hole of the record. Each side is labeled A & B (possibly C & D also if it’s a double LP). - Adjust the speed
Check the speed of your record. Most 12 inch LPs are 33 1/3 RPM and 7-inch singles are 45 RPM.
However, there are exceptions, so check the center label where you’ll usually find the speed indicated. If the speed isn’t specified, then assume 33 or an LP and 45 for a single.
Most record players and turntables have a simple switch somewhere on the plinth to adjust speed. - Check the cue lever
If your record player has a cue lever for raising and lowering the tonearm, use it!
Don’t attempt to raise and lower the tonearm on your records by hand if you don’t have to – you’ll undoubtedly risk scratching a record eventually. - Position the tonearm
With the cue lever set to the up position, slowly pivot the tonearm over to the edge of your record.
Using your eye, look down to ensure the stylus (or needle if you prefer) is hovering just inside the disc.
You don’t want to aim too close to the edge, or the stylus will fail to catch the run-in groove and slip off the side. - Lower the tonearm
You can now use the cue lever to lower your stylus with the record spinning. The stylus will catch the groove and music will start to play!
Congratulations. That was easy and the process is really interactive; it’s all part of the experience and joy of music on vinyl.
How to Skip Tracks on a Vinyl Record
Unlike a CD or a streaming platform, there is no ‘skip track’ button for vinyl records. This ‘inconvenience’ — if you can put it that way — is part of what makes vinyl the best way to experience the album as an art form.
Generally, it’s better to lower the stylus at the start of your record and let it play from start to finish. This way, we avoid potentially damaging the record by continuously raising and lowering the stylus across the record surface.
Saying this, you can select a track using your cue lever. Here’s how:
Look closely at the record; you’ll notice some thin darker sections across the surface. These spaces are the silence between tracks. Keeping your cue arm in the raised position, you can hover the stylus over these spaces and lower the tonearm, and if you’ve managed to line things up successfully, the record will start from this point.
If your record player does not have a cue lever, I don’t recommend attempting this at all as you’ll never be able to keep a steady hand when lowering the tonearm by hand.
Using an Automatic Turntable
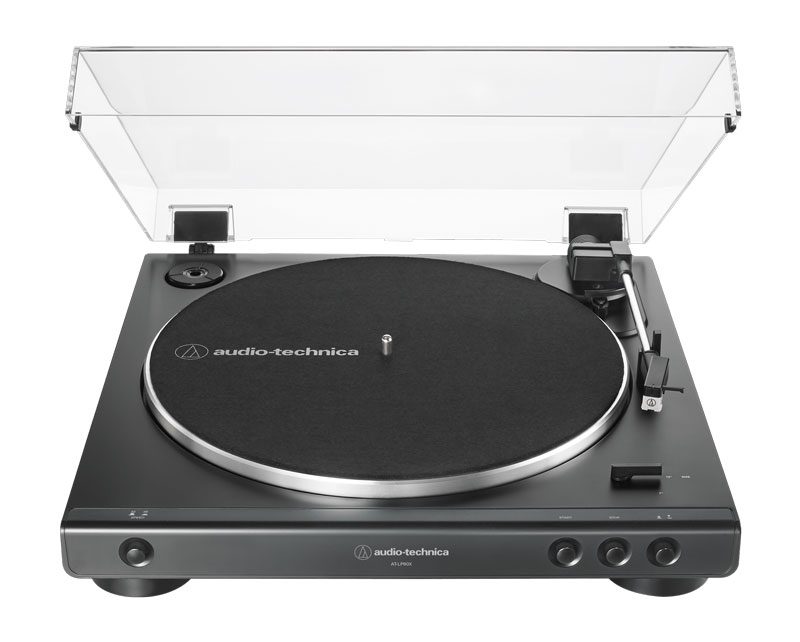
Automatic turntables work differently from most all-in-one record players and manual turntables. They offer many conveniences to music lovers who prefer ease of use.
With the push of a button, a fully automatic turntable will raise the tonearm and lower it precisely at the start of your record. Equally, the arm will lift automatically at the end of each side and return to where it started.
So if you happen to fall asleep before the record end, an automatic turntable prevents the stylus from rocking endlessly back and forth at the end of one side. This space (by the way) is what we call the run-out groove. It creates a continuous loop for the stylus, preventing it from running into the label.
Automatic turntables offer much in the way of convenience, but there are compromises in terms of mechanical noise and interference. For example, because the plinth of an automatic turntable needs to house mechanical devices, the design can’t be solid, leaving it more open to resonance issues.
From an operation perspective, you can often move the tonearm yourself, but this typically starts the platter spinning, and in the absence of a manual cue lever, it’s down to your steady (or not so steady) hand to cue up and skip tracks if that’s what you’d like to do.
Imagine trying to find the silence between tracks and lowering it in place while the record is spinning – risky stuff! My first turntable was a Marrantz automatic deck that operated in this way, and I definitely caused some damage trying to cue up tracks.
Setting Up Your Automatic Turntable – Step-By-Step
Unlike all-in-one record players, automatic turntables usually need external amplifiers and speakers.
Step One: Identify if your deck has a built-in phono preamp. Many automatic decks come with a built-in phono stage, but if it doesn’t you’ll need to check if your receiver/amplifier has an input labeled “phono”, which, if accompanied by a ground input, should indicate you’re looking at a built-in amplifier-side phono preamp.
Failing this, you’ll need to buy an external phono preamp to sit between your turntable and the amplifier/powered speakers.
Step Two: Make sure your turntable is placed on a separate surface from your speakers if you can, as vibrations (particularly bass frequencies) from your speakers can cause the record to skip or simply degrade the audio performance.
Step Three: Plug your turntable into the receiver or powered speakers. If your deck has a built-in phono stage, you can take the RCA cables, pick and AUX input on your amplifier, receiver, or powered speakers, and you’re good to go.
If you’re dealing with an external phono preamp, then you’ll first need to run RCA cables with a ground cable and connect it to the phono preamp. Failing to connect the ground cable can result in significant noise in the form of a buzzing sound.
After this, you can treat the signal from your external preamp in the same way as our built-in phono example, and simply run RCA cables to an AUX input.
Learn more about the different between phono and line (AUX) inputs here.
What Happens If I Don’t Use a Phono Preamp?
Failing to use a phono preamp, either built-in or external, will result in a very thin, quiet sound.
In very simple terms, this is because records are cut with the frequencies adjusted and at a very quiet level to make the playback mechanism physically possible and practical.
To make the sound picked up by your stylus sound normal again, the signal must be processed in a specific way by a phono preamp.
I’ve heavily simplified the description of what a preamp does for the purpose of this article, but if you’d like to understand more, check out our guide to phono preamps.
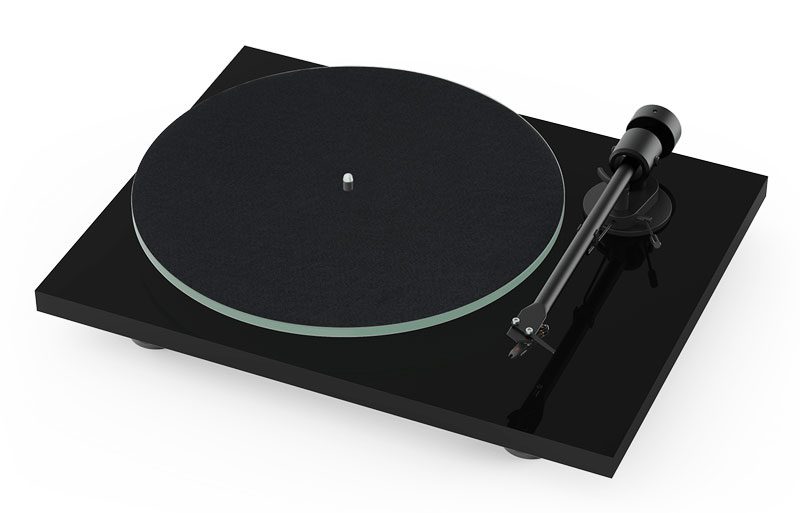
How to Use a Manual Turntable
Fully manual turntables typically occupy a higher-end portion of the market compared to all-in-one record players and automatic turntables. However, there are many very affordable models out there.
In this instance, you’re in the driving seat, much like most all-in-one record players with a cue arm, only the components are usually much higher quality.
Some manual turntables, such as my Technics SL1500, offer semi-automatic features like an auto lift at the end of each side. These attempt to bring some convenience features to a higher-end manual turntable.
Manual turntables allow more user upgrades than most all-in-one or automatic units, which often have fixed cartridges that can’t be replaced or swapped. Depending on which model you have, it’s possible every core component from the cartridge to the platter, and even the whole tonearm could be upgraded.
Playing a Record – The Bottom Line
In reality, the process of record playing or how to use a record player is very similar from model to model, so no matter what your budget is for getting started with vinyl records, you can enjoy the therapeutic process of spinning a record.
Welcome to the best way to experience music. This level of engagement and experience from a music format just can’t be replicated in the digital age. However you arrived here, we hope you enjoy your analog journey.
Nedávno jsem v Praze procházel sociální sítě a narazil na jednu reklamu, která mě hned zaujala svým stylem. Měl jsem za sebou docela drsnou šňůru proher a už jsem vážně přemýšlel, že s hraním nadobro seknu. Jenže přes vegashero se mi podařilo trefit parádní sérii na automatech, která mi vrátila všechny dřívější vklady. Poker tam běží naprosto plynule a grafika her mě fakt baví. Nakonec jsem skončil v plusu a jsem s tímto místem velmi spokojený, vše funguje férově.
Thanks