Your record player or turntables’ needle (better know as the stylus) is the first point in the audio signal chain.
It is the instrument responsible for directly tracking your record and beginning the process of transforming an otherwise useless groove into sweet, sweet music.
For it to perform at its best, you need to keep it clean. If you allow dust or grime to build on the stylus tip, it will affect sound quality and cause the stylus to wear out quicker.
Follow our full guide below (or watch our video overview) on how to clean your stylus to preserve the life of your equipment and records.
Guide Navigation:
Part 1: About Your Stylus – Diamonds Are an Audiophile’s Best Friend
Part 2: How to Clean a Record Player Needle and Avoid Excessive Stylus Wear?

Part 1: About Your Stylus – Diamonds Are an Audiophile’s Best Friend
Most stylus tips are made from diamond, which is one of the hardest surfaces known to man. Some cheaper models use sapphire, but a diamond is preferred for its durability for the most part. After all, your stylus has quite a tough job at hand—tracking miles and miles of record groove at a microscopic level.
Despite the durability of diamonds, the intense job of tracking record after record eventually takes its toll, and the stylus will ultimately wear out and require replacement. If your records are dirty, the stylus will wear out quicker; similarly, if your stylus is clogged with dust and gunk, this will also speed up its demise. (To learn more about how often you should replace a stylus, check out our previous article).

What causes the stylus to wear out?
The physical process and friction involved in playing a record are enough to wear down the stylus tip slowly. But more importantly, dust, finger oil, and any other built-up grime will speed up the process significantly. As the stylus tracks the groove, heat builds up from the friction, which causes dust and oils to harden and adhere to the stylus surface.
Not only does this degrade the audio performance in the short term, but it also causes faster and more uneven stylus wear. If that weren’t bad enough, a misshaped or badly worn stylus would also cause more significant record wear, and we don’t want that!
Part 2: How to Clean a Record Player Needle and Avoid Excessive Stylus Wear?
Keeping your records clean will reduce the workload, of cause, but when dust and grime does start to build on the stylus, you’ll need the right kit to safely clean the tip so you can get back to spinning records.
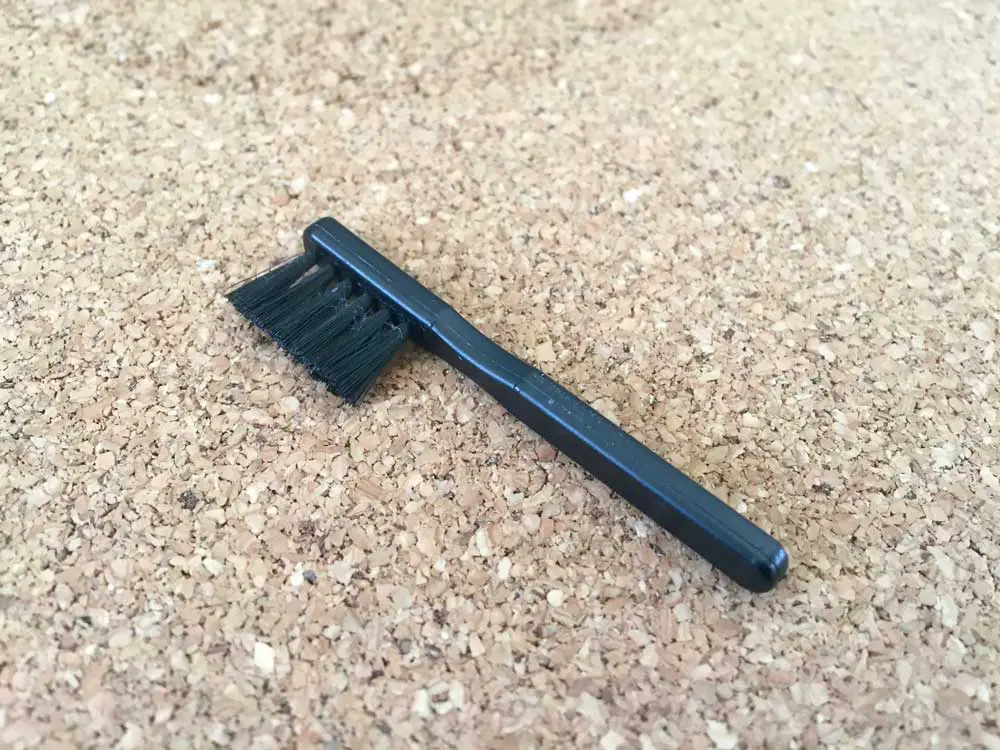
Cartridge manufacturers rarely ship their products with any cleaning kit; at best, you might receive a very basic brush like the one pictured below.
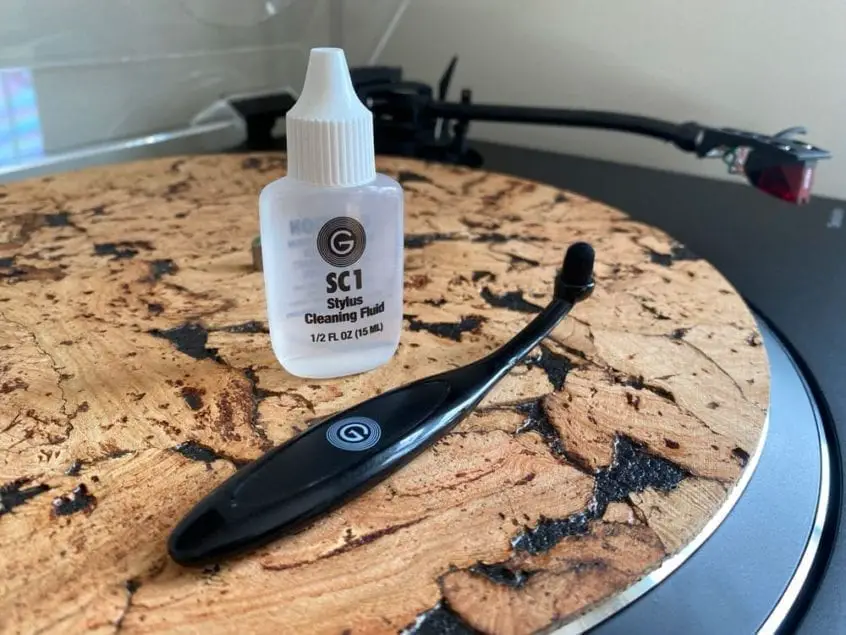
For the best results, invest in a purpose-designed stylus cleaning kit. I use the GrooveWasher SC1. It’s a very simple and cost-effective kit consisting of a stylus brush and the SC1 stylus cleaning fluid.

Compared to a basic stylus brush, there are several design improvements:
- The curved, ergonomic design makes it easier to access your stylus and the underside of the cartridge.
- The longer, more dense cleaning bristles help clean the stylus thoroughly while reducing the risk of knocking the delicate stylus cantilever.
Stylus Cleaning Technique:
The most crucial point to remember is the brushing technique:
Always brush the stylus from back to front, never from front to back. The latter will risk bending the stylus cantilever, resulting in permanent miss-alignment and a big hit to your bank balance as you’ll now need to replace the stylus.
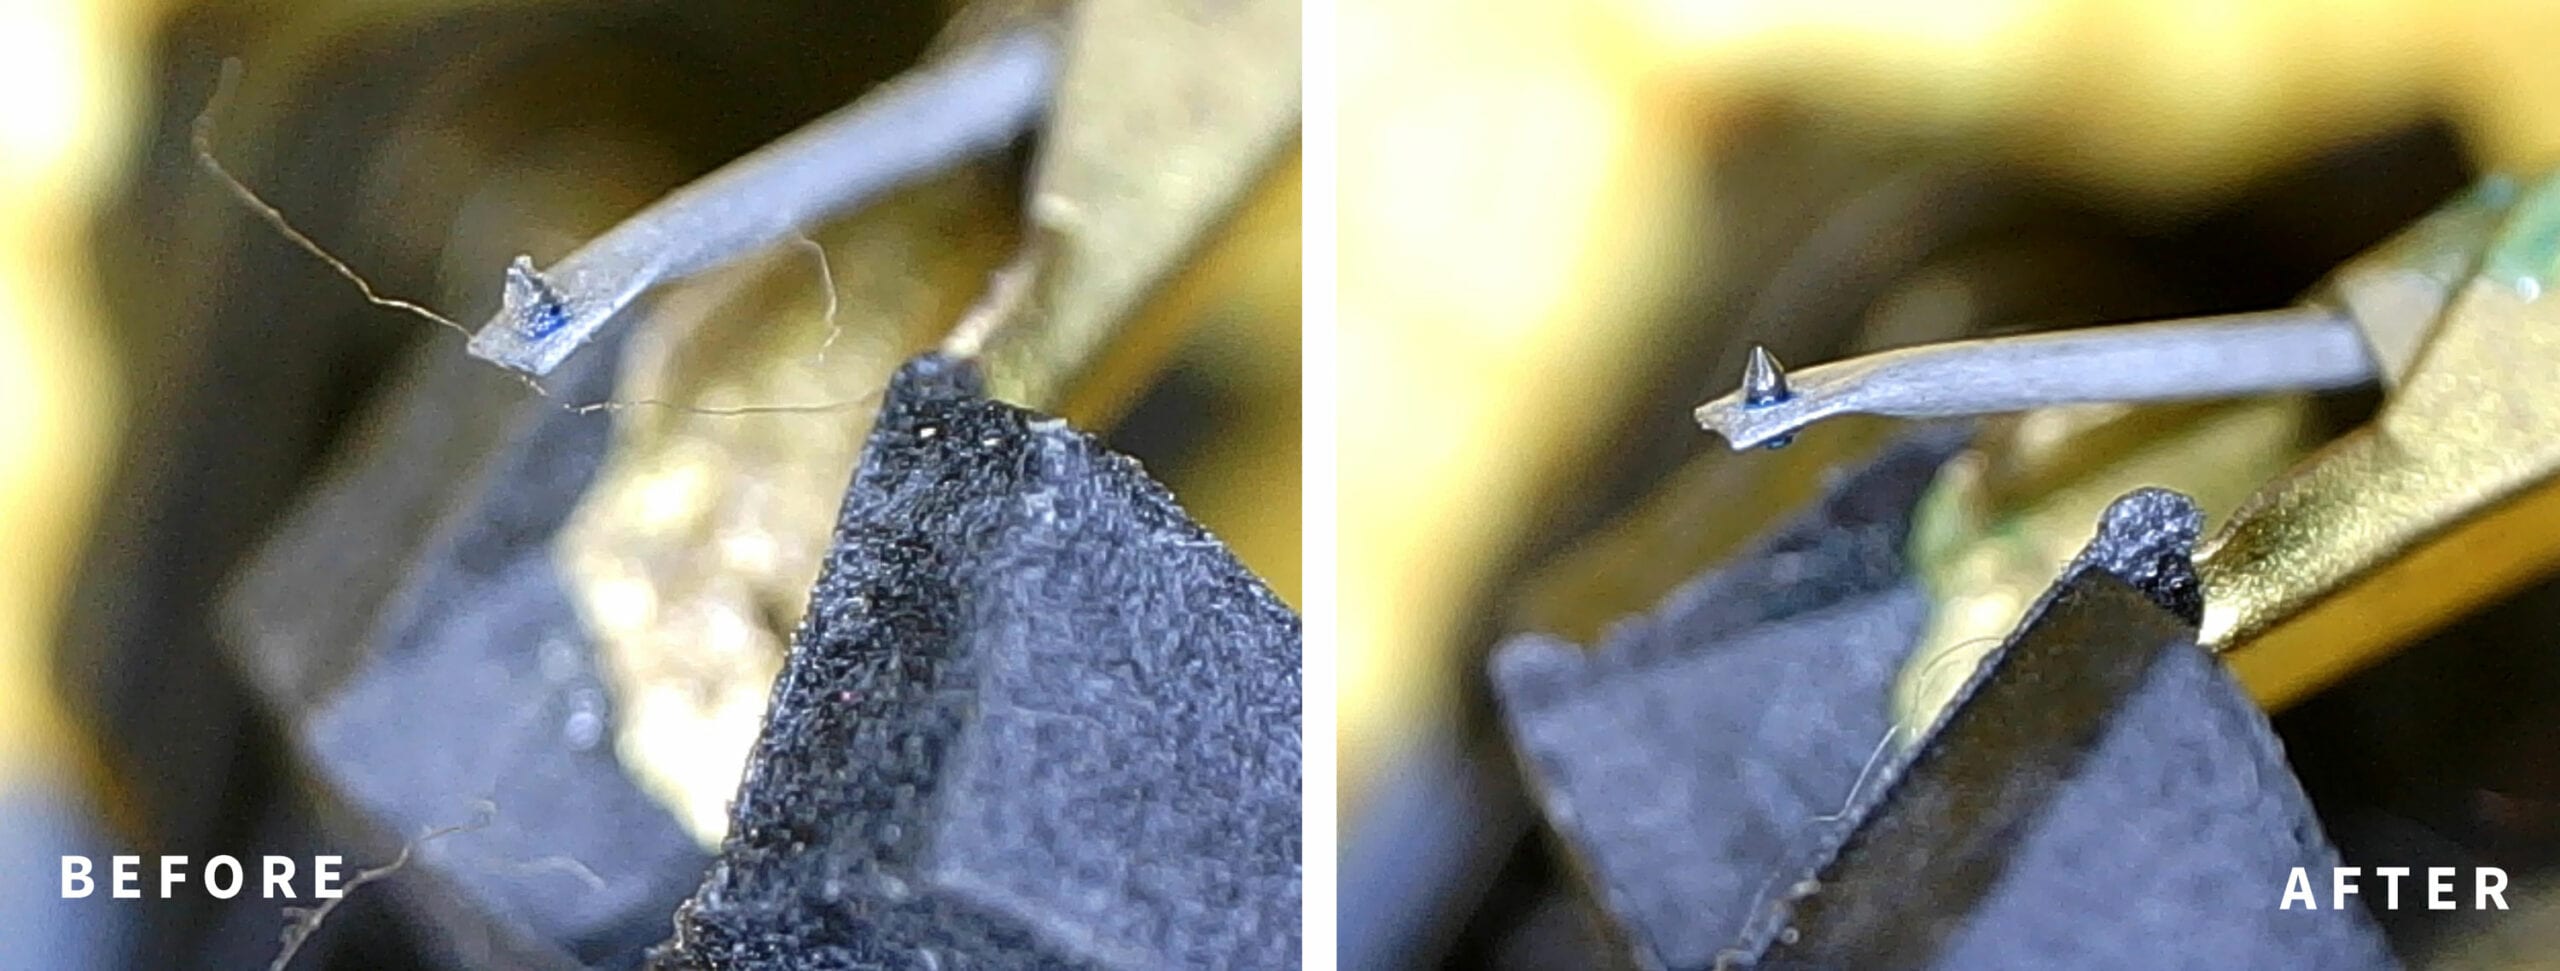
Before & After
The images below show one of my styli before and after cleaning. As you can see, the example stylus is coated with a significant amount of unwanted dust and grime.
A tiny drop of GrooveWashers SC1 fluid swept away this grime, leaving the stylus clean and the audio playback greatly improved.
Don’t forget: Sound Matters readers receive 10% when buying directly from the GrooveWasher website. Simply use the code SOUNDMATTERS10 on checkout.

How Often Should you Clean the Stylus?
The short answer is, it’s best to clean the stylus after you playback each side. The vinyl community will debate the best approach until the end of time, but here’s the routine I follow:
Use the brush dry after each side without fail. Once every 2-3 records, use a drop of the SC1 fluid to remove any stubborn build-up. You can increase or decrease the fluid use depending on how dirty your stylus gets, but if the stylus is picking up excessive grime, it’s a sign you need to clean your records.
Some collectors worry about over-using fluids on a stylus, as manufacturers sometimes use glue to attach the stylus tip. If you’re not careful and you use the wrong type of liquid, there is a possibility you could dissolve the glue. The SC1 fluid is safe to use on your stylus, and I have never experienced any issues. At the very least, you should always stick to a reputable brand when choosing a cleaning solution, but if you’re still worried about fluids, I can also recommend the Onzow Zero Dust (a gel-based alternative).
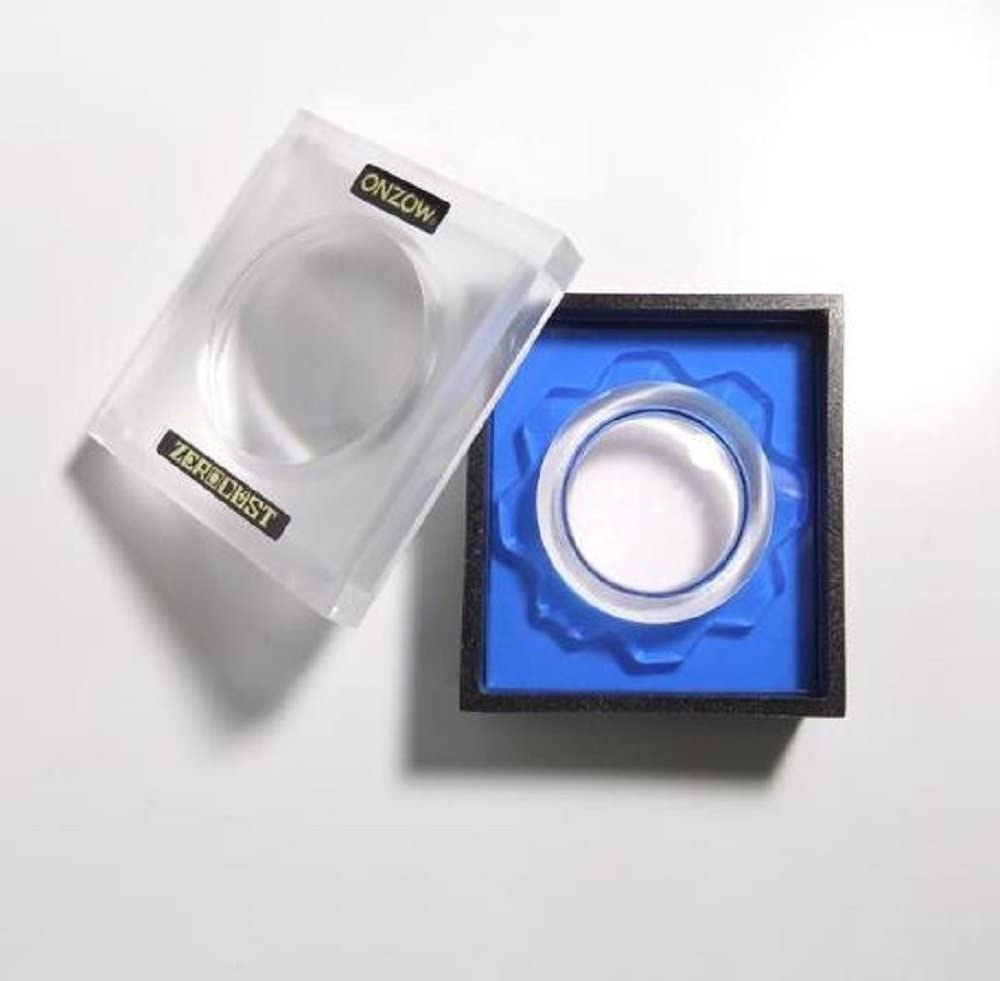
When using the Onzow, though, be very careful to make sure your surface and turntable are steady. If the turntable moves when lowered into the gel, there’s a chance you could damage the cantilever.
Like all things vinyl, proceed with care and caution as the kit we’re using relies on precision to work correctly. Treat your stylus and cartridge with great respect, and it will reward you with many hours of great-sounding music. Happy spinning.
I always use a zero stat gun, carbon brush, and dust buster gell before each side, last cartridge Sumiko Blackbird lasted to years, hope the new one Sumiko Starling lasts as Long with the same care
Ive used white foamed pad ‘ miracle cleaner’ for years . Cheap easy very effective . Its very slightly abrasive – powdered mica . Simply lower cart onto it a couple of times whilst pad rests on platter. Some might query abrasion tho. I ve not yet heard any change only improvement.
Thanks Dave. I’ve heard a few folks have success with that one. Thanks for sharing.
Putting ads for signature brew in the newsletters is just mean. How am I supposed to get their beer on this side of the pond?
Sorry about that. Sound Matters is very much a Transatlantic audience and we try to cater to both sides as much as possible. On the UK-side I get lots of folks trying to get hold of GrooveWasher products (for example) and they have similar frustrations.
If they ever manage to get some of those brews over to suppliers across the pond, I’ll be sure to let you know! Cheers.